Transforming your space with a fresh coat of paint starts with proper preparation, which means addressing any drywall imperfections first and following these essential drywall repair steps before painting to achieve flawless, professional results.
Key Takeaway
- Why Repair Drywall First: Painting over damaged drywall results in a subpar finish. Proper repair ensures a smoother surface and long-lasting results.
- Steps to Repair Drywall: Identify damage, fill holes, sand smooth, clean thoroughly, and prime before painting.
- Professional Help: While DIY is possible, professionals save you time and guarantee an impeccable finish.
Repairing Drywall Before Painting
Painting your walls is one of the simplest ways to revamp your home, but the secret to a flawless result lies in preparation. Damaged drywall can ruin even the best paint job, highlighting imperfections instead of hiding them. Here’s a step-by-step guide to ensure your walls are ready for their makeover:
Inspect Your Walls
Before diving into the painting process, thoroughly inspect your walls for any damage. Common drywall issues include:
- Small holes from picture hangers or nails.
- Dents caused by furniture bumps or doorknob impacts.
- Cracks in corners or along seams.
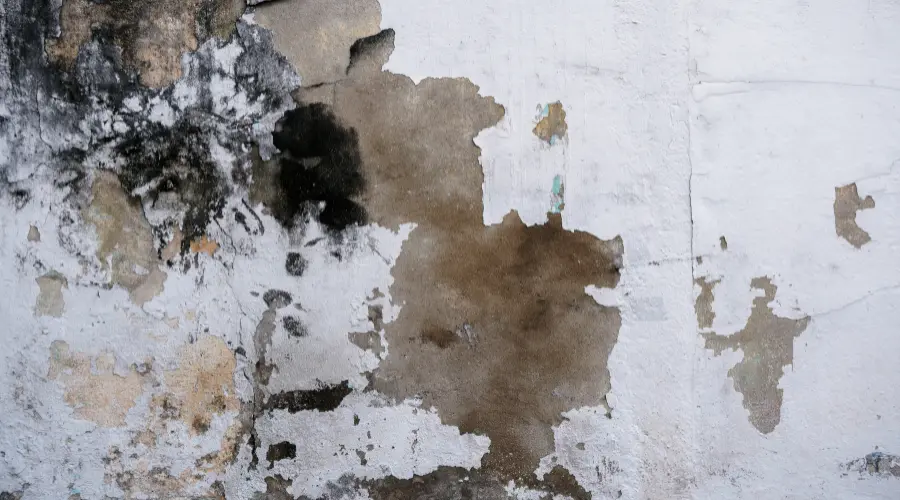
- Bubbles or bulges from moisture damage.
Use a utility light held at an angle to highlight subtle imperfections that may be hard to spot. Mark each problem area with a pencil for easy reference.
Repair Small Holes and Cracks
Minor damage, like small holes or hairline cracks, can be repaired with pre-mixed drywall compound:
- Fill the holes using a putty knife, ensuring the compound is level with the wall surface.
- Apply two thin coats for even coverage.
- Allow the compound to dry thoroughly between coats.
- Use fine-grit sandpaper to smooth the area until it blends seamlessly with the surrounding wall.
Address Larger Holes
Larger holes (up to 6 inches in diameter) require additional steps:
- Cover the hole with an adhesive drywall patch.
- Apply a layer of drywall compound over the patch, extending slightly beyond its edges.
- Once dry, add a second coat to ensure complete coverage.
- Sand gently until the surface is smooth and flush with the wall.
- Smooth and Clean the Walls
After all repairs:
- Sand all patched areas to remove any ridges or uneven spots.
- Use a vacuum or tack cloth to remove dust from sanding.
- Wipe down the walls with a damp microfiber cloth to eliminate lingering particles. Clean walls ensure better paint adhesion.
How to Prepare Drywall Before Painting
Once repairs are complete, follow these steps to prepare your walls for painting:
Apply a Primer Coat
Primer helps the paint adhere to the surface and enhances the vibrancy of your chosen color:
- Choose a primer for your wall type (e.g., stain-blocking for high-traffic areas).
- Apply the primer evenly using a roller, ensuring complete coverage.
- Allow the primer to dry completely as per the manufacturer’s instructions.
- Check for Imperfections
Once the primer dries:
- Run your hands over the walls to detect any remaining rough spots.
- Lightly sand these areas and clean up the dust before proceeding to paint.
- Begin Painting
With the primer set, you’re ready to paint:
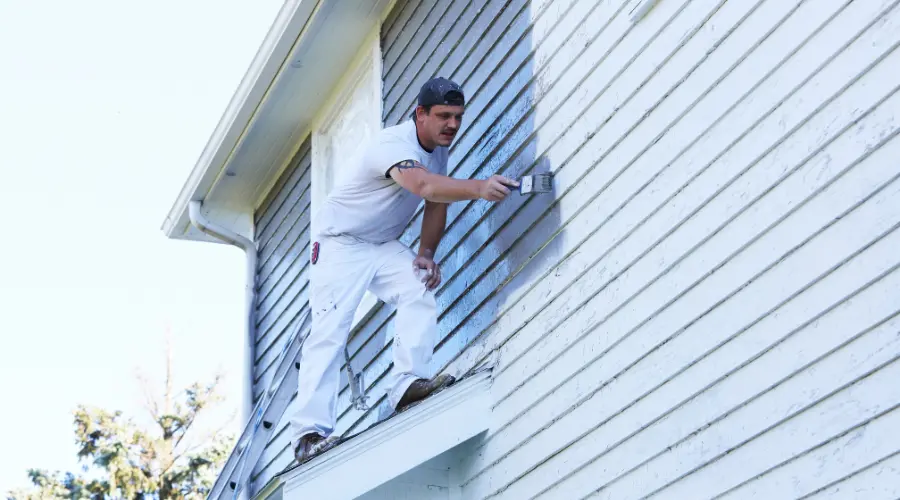
- Use high-quality tools (rollers, brushes) for the best finish.
- Apply paint in thin, even coats, allowing sufficient drying time between layers.
Benefits of Professional Drywall Repair and Painting
While tackling drywall repairs yourself can save money, hiring professionals ensures:
- Efficiency: Experts complete the job faster, saving you hours of labor.
- Expertise: Professionals know how to fix even the trickiest wall issues, guaranteeing flawless results.
- Quality: You’ll enjoy a smooth, durable finish with professional tools and techniques.
CCT Apex House Painting offers comprehensive services, from drywall repair to painting, ensuring your walls look picture-perfect in just one day.
Frequently Asked Questions (FAQ)
Why is repairing drywall necessary before painting?
Painting over damaged drywall highlights imperfections rather than covering them. Repairs create a smooth surface for an even, professional finish.
Can I repair the drywall myself?
Essential tools and materials can often repair small holes and minor cracks. However, larger holes or extensive damage may require professional expertise.
How long does it take for drywall compound to dry?
Drying time varies depending on the type of compound used. Pre-mixed compounds typically take 24 hours to dry, while quick-setting options may dry in 20-60 minutes.
Do I always need to sand after applying drywall compound?
Yes, sanding ensures a smooth surface by removing ridges or uneven areas left by the compound application.
Is priming necessary after drywall repairs?
Absolutely. Primer seals the repaired areas and provides a uniform base, ensuring the paint adheres well and looks consistent.
What’s the best way to clean walls before painting?
After sanding, vacuum the walls and wipe them with a damp microfiber cloth to remove all dust. For greasy or stained areas, use a mild detergent solution.
How much does professional drywall repair cost?
Costs vary based on the extent of the damage and location. Contact a professional like CCT Apex House Painting for an accurate estimate for a no-obligation quote.
Can I paint over textured drywall without repairs?
It’s possible, but imperfections will still show through textured surfaces. Repairing and retexturing the damaged areas ensures a uniform look.
Final Thoughts
A fresh coat of paint can transform your space, but proper preparation—starting with drywall repair—is essential for a stunning, long-lasting finish. Whether tackling the project yourself or hiring professionals, investing time and effort in drywall preparation will pay off in spades. For expert assistance and exceptional results, contact CCT Apex House Painting today!


