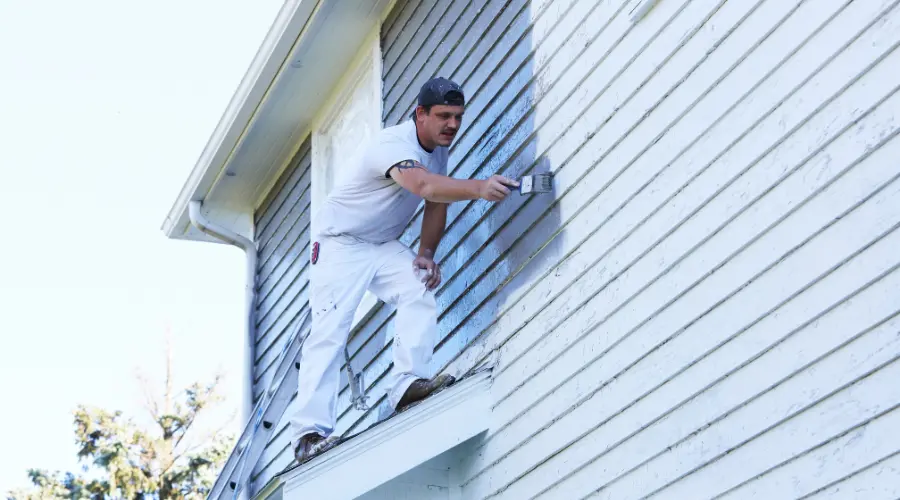
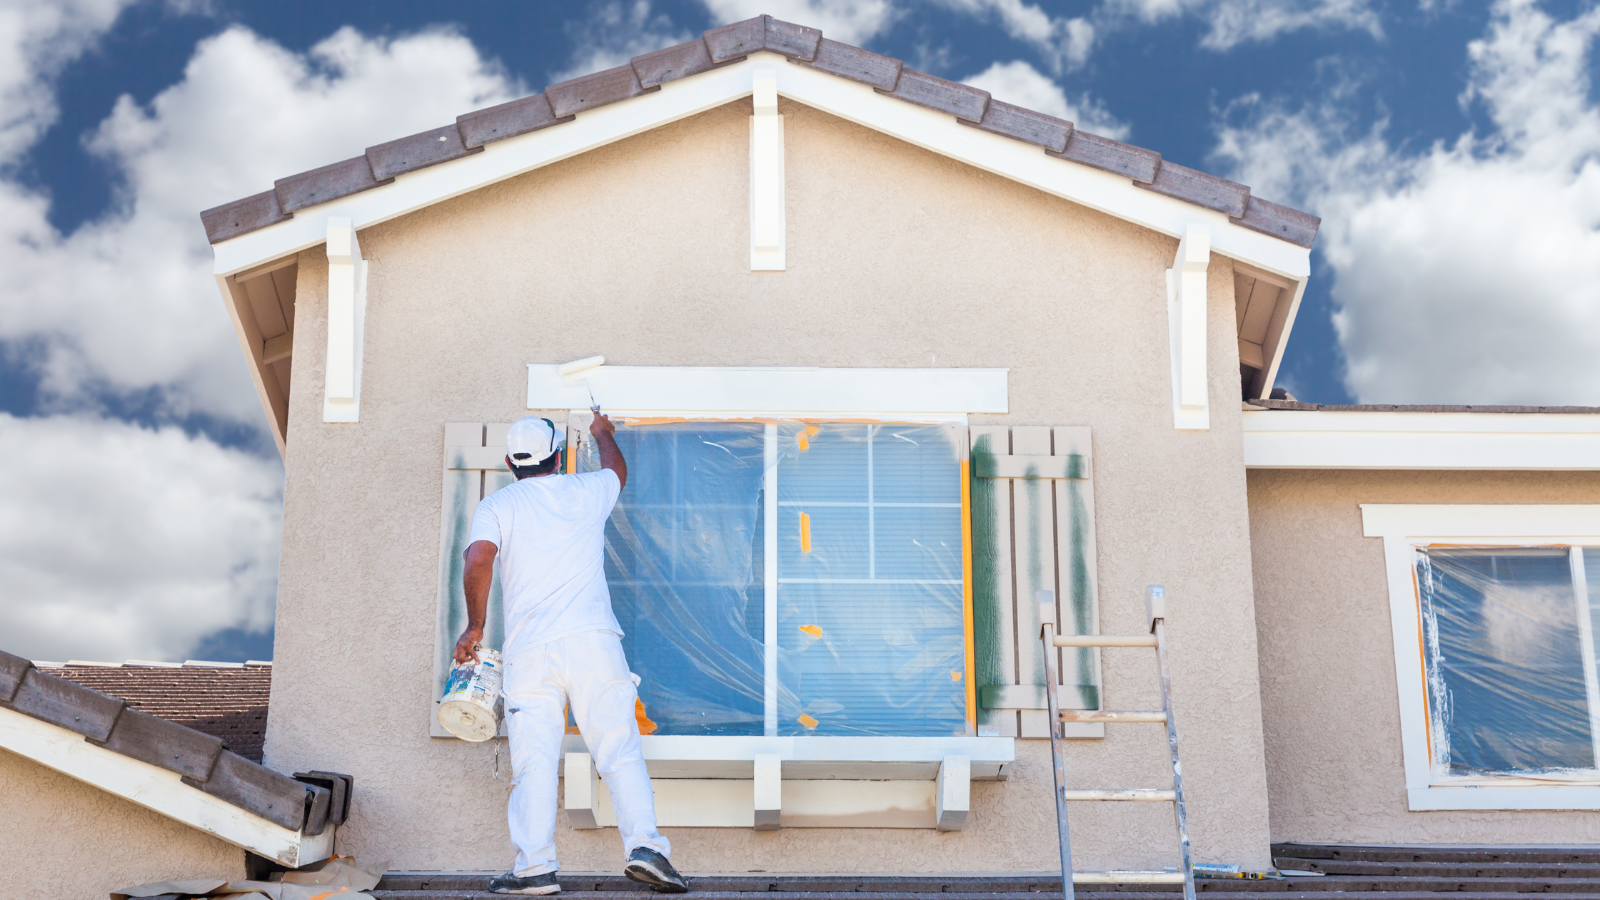
Interior painting can be done at any time of year, but exterior painting is best left to certain times of the year.
How recently did you paint your home?
Painting your house can be fun since it gives it color, personality, and feelings. Because painting keeps the walls, ceilings, and other surfaces of your home in good condition, it should be a regular part of home maintenance. Your home is effectively shielded and protected with paint for many years to come. Every five to ten years, you should paint the interior of your house. Bedrooms can go between coats of paint for 8 to 10 years, however playrooms and other high-traffic spaces should be painted every five years. If your house is starting to look worn out or if you’re moving into a house that was constructed when lead-based paint was widely used, you should paint it this season.
Many individuals spend the winter indoors due to the frigid temperatures and snow days. Just consider how necessary warm, dry weather is for workers in the construction, road, painting, concrete, and other industries. When thinking about what to do in your house over the winter, you might have concluded that home improvement was off the agenda. But that’s not entirely true. Since winter will continue for at least another month, you’ll have plenty of time to do interior home upgrades.
Despite the fact that it could seem like a task to put off until the blazing summer, think again! The chilly, dry air in your home during the wintertime is beneficial to recently painted walls. Since interior painting must be done at the right temperature, many experts suggest painting your home during the winter. For example, the air, wall surface, and paint should all be between 60 and 80 degrees Fahrenheit to give a wonderful even finish. Before the next winter, get some painting supplies so you may update the interior of your house before spring.
Advice for Interior Painting
For a great paint job, knowing what to do and what not to do is just as crucial as the temperature. Keep in mind the following useful guidelines before you begin painting your home:
1. A comparison of price and performance.
Before selecting whether to do the painting yourself or hire a pro, you should continually compare prices. If you’re attempting to hire a professional painter, you might be surprised to learn that winter weather typically results in slower business for home improvement companies. Contractors then increase their bid aggressiveness as a result of this. In the winter, when construction companies are typically less busy, you can get some great deals. You should compare quotations depending on the kinds of paint or materials that will be used in order to avoid comparing apples to oranges; you can do this by asking the painter what they intend to use. It is untrue to believe that paints sold by contractors are of greater quality than paints available at your local home improvement store.
You should also assess the cost and effectiveness of the selected paint material. There are several name brand paints available, some of which you may even find in your local Lowe’s or Home Depot. One can find well-known paint brands including Behr, Benjamin Moore, Glidden, Sherwin-Williams, and Valspar among others. All name brand paints come in contractor grade, good, better, and best performance tiers or levels. The least expensive paints are frequently contractor grade paints, followed by two to three higher tier paints with costs ranging from $15 to $60 a gallon. We advise setting a budget for the project before deciding on the paint and performance alternatives for your property. Performance characteristics of interior paints include things like one coat hide, remarkable scrub resistance, cooking/grease resistance, high or low gloss (sheen), etc. Consumer Reports suggests selecting a paint with a Very Good or Excellent concealing cover rating before deciding on a gloss and hue because they discovered that “economy” paints don’t function properly.
Pro Tip: Hiring professionals in their off-season is a great strategy to save money on any home repair project, not just painting. Similar to the painting season, contractors are less active during the winter months when it comes to landscaping tasks.
2. Before painting, use a tack cloth to clean your walls.
If you want to get ready for hiring painters or if you want to do your own painting, follow these advise. Before painting your walls, baseboards, door, or window trim, be sure there is no dust or other debris on the surface. Your paint can have bubbles or faults if you don’t first clean these areas. Utilizing a tack cloth to clean the area before painting can be helpful. Cheese cloths that have been covered in a sticky material, such beeswax, are simply what are known as tack cloths. It is best to use a soft cloth to gently clean walls so that any dust or lint will be trapped by the tacky material. However, be careful not to press too firmly as this could spread the wax.
Never skip prep; the short amount of time you spend doing so pales in comparison to the amount of time you’ll need to spend fixing errors. It will take longer and cost more in labor and supplies to paint over badly prepared surfaces. Nothing is more frustrating than having to sand down your walls and repaint them because the paint is chipped or has too many dust flecks peeking through it.
3. Spend money on premium painting supplies.
Think about comparing point #1’s performance and price. The first thing to keep in mind is that, in terms of price and quality, you typically get what you pay for. It goes without saying that you want to paint your home with high-quality paint and supplies that are simple to use, compact, and durable. The process of selecting the ideal paint can be really challenging (just take a look at all the options in the image above). There are countless possibilities. The cheapest paint you can buy should not be your first choice because it typically requires more coats, is more prone to marring, scuffing, and scratching, and won’t last as long as more costly paint. Instead, look for high-quality paint, which frequently contains additional solids to improve paint build and boost scrub/scratch/mar resistance, among other properties.
Examine your local paint alternatives; unless you live in a rural area, you should have access to all of the major paint brands. We suggest reading online reviews or even going to your local home improvement store to ask the personnel in the paint section for guidance. Test paint brushes, rollers, and rods for lint transfers and brush fallout after doing your research and without hesitation. If you are using them as testers and you notice that they are shedding, you can be sure you don’t want to use them for a project as important as your home. The Wooster paint roller, which we usually choose, can be replaced with foam rollers as a terrific option.
4. Begin painting at the top.
Start painting your ceiling first so it has time to dry before continuing. Imagine deciding the ceiling should have been painted as well after painting the walls. Your neatly painted walls could suddenly start to drip paint. Next, if you have any crown molding, take care of it. Make steps for yourself, try to follow a logical process, and give each painted area some time to dry before going on to the next. It’s essential to reduce the gap. You can do it before painting the walls, but many professionals believe that for a flawless finish, painting the walls first is more beneficial. Use a bucket rather than a paint can, advises experts. As a result, there won’t be as many incidents of things spilling over (paint cans are more likely to do this), and there won’t be as many different colors. Next will be the painting of the windows, so pay great attention to every tiny detail. Window areas allow light to enter, making them focus points for rooms and able to highlight problems that you might otherwise overlook. The last is doors. If you want a nice finish when painting, take the extra effort to unhinge your doors and lay them horizontally. As a result, the coat will be uniform.
5. Clean and reuse any paintbrushes or rollers you have.
Painting your living room, bedroom, or kitchen may get old quickly. The baseboards, windows, door trims, and walls are just a few of the surfaces that require painting. You start to realize that it might wind up taking two days to finish this, whether it’s because the sun is sinking and you’re running out of daylight or you’re just too worn out. It’s likely that you won’t want to buy new brushes and rollers in this circumstance; however, keeping them in good condition can help you save money, the time it would take to buy new ones, and the environment by minimizing the waste of more materials than you actually need. To effectively prepare brushes and rollers for painting the next day, spritz or soak them in water and soap. You can only do this so many times until your brushes or rollers start to fade, compress, etc. Only paint jobs that are the same color and only one day apart are encouraged to do this. The bristles or nap could break free, the colors could mix or run on the wall when used with many colors and days apart, etc.
Painters advocate using these incredibly effective preservation techniques for their brushes and rollers. Put them in a bag if you only intend to store them for a few hours. The other strategy is to store them at room temperature in an airtight bag. Due to the fact that the fluid will remain within, they won’t harden. Place them in the refrigerator. Your brushes or rollers can last longer if you keep them cool and store them in the refrigerator overnight in a sealed container. Make care to set them out and give them some time to rewarm to room temperature before using them once more.
Suggestions for Painting Your Home
In conclusion, there are appropriate times to spring clean and paint your home. You can save a lot of money if you hire contractors out of season. Review the price and performance of the paint that you or your contractors plan to use. Make sure your walls are clean before painting because preparation is everything. While painting, always start with the ceiling and work your way down. If your painting project lasts more than one day, you may also clean and reuse your painting rollers and brushes, which will save time and the environment.


