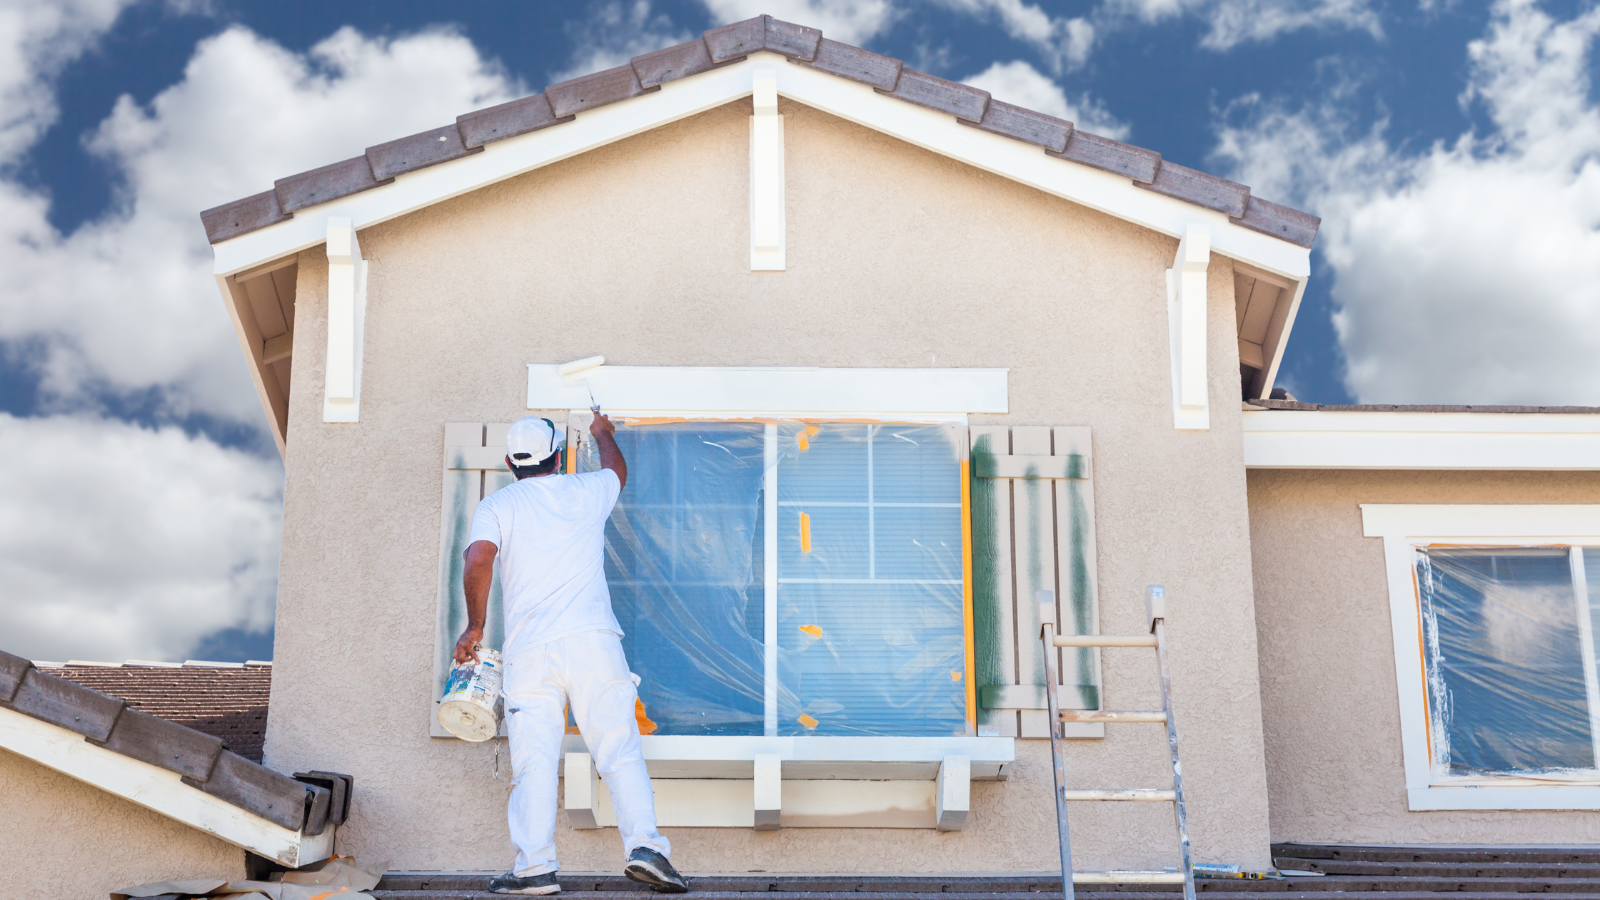
Master the art of flawless paint touch-ups to refresh your walls and revive your home. With the right techniques and tools, achieving professional results has never been easier.
Key Takeaway:
- Preparation is Crucial: Gather matching paint, painter’s tape, and essential tools to ensure seamless touch-ups.
- Follow a Step-by-Step Process: Clean, sand, tape, and apply paint with patience and precision.
- Choose the Right Tools: Use brushes for small areas and rollers for larger surfaces.
- Layering is Key: Apply multiple coats as needed, allowing each layer to dry thoroughly.
What to Consider Before Starting
To achieve a professional finish, preparation is everything. Start by:
- Matching the Paint: Use leftover paint from the original job or get a color match at your local hardware store. Ensure the finish—whether matte, satin, or gloss—also matches.
- Gathering Supplies: Essential items include painter’s tape, a putty knife, fine-grit sandpaper, a drop cloth, and cleaning supplies. These tools will streamline your work and protect surfaces.
- Protecting Your Space: Lay down a drop cloth to safeguard your floors and furniture from accidental drips or spills.
How to Touch Up Paint Like a Pro
Prepare the Surface
- Clean Thoroughly: Remove dust, grime, or grease from the area with a mild detergent and water. Let the surface dry completely before continuing.
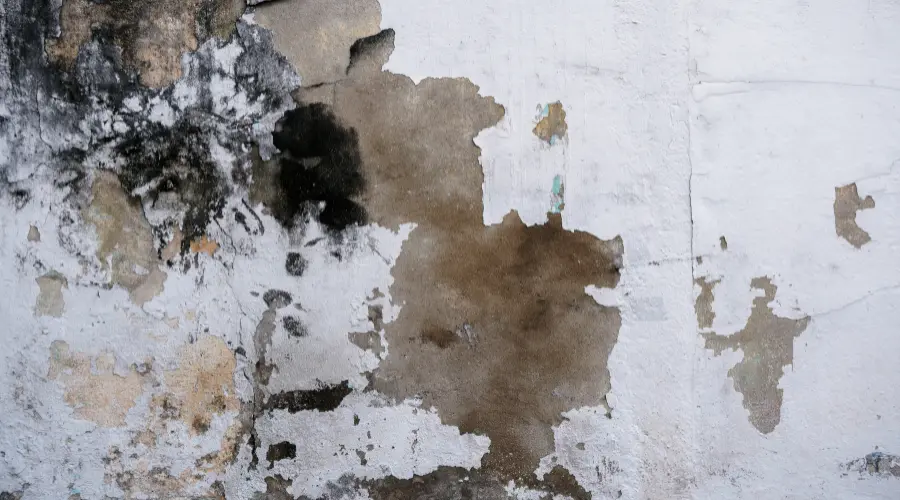
- Inspect for Damage: If there are small holes or cracks, fill them with suitable putty and sand them smooth once dry.
Sand for Smoothness
- Use fine-grit sandpaper to sand the damaged area gently. This creates a smooth surface for the paint to adhere to.
- Wipe away sanding dust with a clean, damp cloth to prevent it from interfering with the paint’s finish.
Apply Painter’s Tape
- Protect nearby surfaces and create clean edges using painter’s tape. This step is essential for achieving a polished result, especially near trims or baseboards.
Paint with Precision
- Brush or Roller:
- For small nicks and scratches, use a high-quality brush for detailed application.
- For larger areas, opt for a small roller to ensure an even finish.
- Technique Matters: Use gentle, even strokes and avoid overloading your brush or roller with paint.
Layering the Paint
- Apply a thin initial coat and let it dry completely. Follow the manufacturer’s recommended drying time.
- Assess the coverage and apply additional coats as needed. Patience is key to preventing drips or uneven patches.
Finishing Touches
- Once the final coat dries, remove the painter’s tape carefully to avoid peeling the paint.
- Inspect the area under good lighting to ensure seamless blending with the surrounding wall.
FAQs: Paint Like a Pro
Q: What if I don’t have the original paint color?
A: Visit a hardware store to get a color match. Bring a small sample of the existing paint, if possible, such as a chip from an inconspicuous area.
Q: How do I deal with textured walls?
A: Use a sponge or stippling brush to mimic the existing texture after applying paint. Practice on scrap material first to perfect your technique.
Q: Can I skip sanding?
A: Sanding ensures a smooth finish and better adhesion. Skipping this step can result in noticeable touch-ups.
Q: How do I avoid visible brush or roller marks?
A: Use high-quality tools and apply thin, even layers. Maintain consistent pressure and overlap strokes slightly for a uniform appearance.
Q: What’s the best way to store leftover paint for future touch-ups?
A: Store paint in a cool, dry place with the lid tightly sealed. Label the can with the room and application date for easy reference.
Q: Can I use a different paint finish for touch-ups?
A: Always match the original finish. A mismatched sheen can highlight the touched-up area.
Pro Tips for Long-Lasting Results
- Invest in Quality Tools: High-quality brushes and rollers yield smoother results and minimize frustration.
- Blend Carefully: Feather the edges of the touch-up area into the surrounding wall for seamless blending.
- Work in Good Lighting: Proper lighting helps spot imperfections and ensures even application.
- Practice Patience: Rushing through the process can lead to mistakes. Allow adequate drying time between coats.
Mastering paint touch-ups is a valuable skill that keeps your home looking fresh and flawless. With proper preparation, the right tools, and a patient approach, you can achieve a professional finish every time. Transform your walls and enjoy a revitalized living space with ease! For more details, contact CCT Apex House Painting


