Key Takeaways
- Paint bubbles occur due to moisture, surface contamination, improper application, or extreme temperatures.
- Proper surface preparation, including cleaning, priming, and ensuring a dry surface, helps prevent paint bubbling.
- Environmental factors such as humidity and temperature should be considered before painting.
- Correct painting techniques, including using the right tools and paint types, minimize the risk of bubbling.
- Repairing paint bubbles involves scraping, sanding, priming, and repainting with care.
- Seeking professional help may be the best option for persistent paint issues.
Painting your home can be incredibly rewarding, but nothing is more frustrating than seeing unsightly paint bubbles appear on your freshly painted walls. These imperfections can ruin the aesthetic appeal of your space and leave you wondering where things went wrong. This guide will dive deep into the causes, prevention techniques, and solutions to paint bubbling, ensuring your next paint job is flawless.
Understanding Paint Bubbles: What Causes Them?
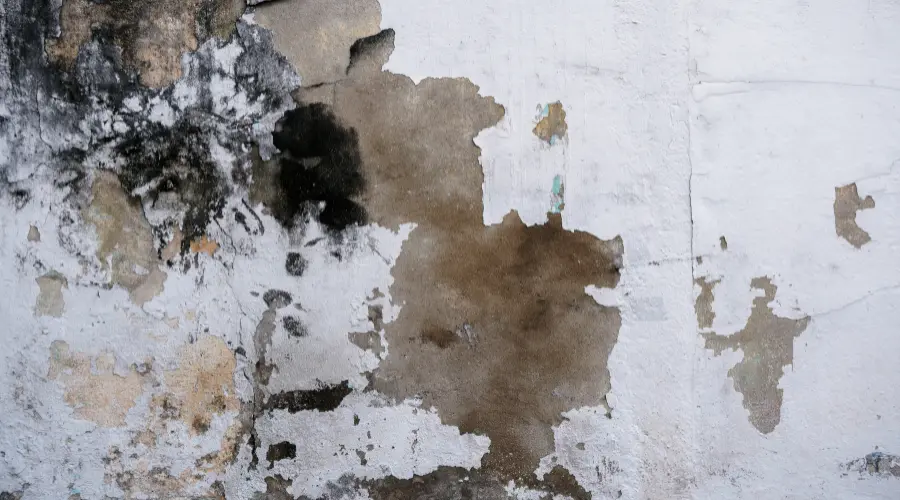
Paint bubbles (or blisters) are small pockets of air or moisture trapped beneath the paint film, leading to raised spots on the surface. Here are the common culprits:
1. Moisture & Humidity Issues
- Painting over damp walls or in humid conditions causes paint to separate from the surface.
- Basements, bathrooms, and kitchens are particularly prone to moisture-related bubbling.
- Leaky pipes or condensation issues can contribute to persistent bubbling problems.
2. Dirty or Contaminated Surfaces
- Dust, grease, or mold on a surface prevents proper paint adhesion.
- Chemical residues or cleaning agents left unwashed can interfere with paint application.
3. Heat & Temperature Extremes
- Painting in direct sunlight or in high temperatures causes rapid drying, leading to uneven paint adhesion.
- Extreme cold can prevent paint from bonding properly, leading to later bubbling.
4. Air Entrapment from Improper Application
- Shaking a paint can vigorously instead of stirring introduces air bubbles.
- Applying thick paint layers too quickly without proper drying can trap air beneath the surface.
5. Mismatched Paint Types & Poor Priming
- Applying latex paint over an oil-based layer without proper priming causes adhesion problems.
- Skipping primer on porous surfaces like drywall or bare wood results in uneven absorption and bubbling.
How to Prevent Paint Bubbling
To ensure a smooth, long-lasting paint job, follow these essential steps:
Step 1: Thoroughly Clean the Surface
- Wipe down walls with a damp cloth to remove dust and debris.
- For greasy surfaces, use mild detergent and rinse thoroughly.
- Address mold or mildew with a water-and-vinegar solution.
Step 2: Dry the Surface Completely
- Ensure walls are completely dry before painting.
- Use dehumidifiers or fans in high-moisture areas.
- Check for and repair any water damage before painting.
Step 3: Check Weather & Environmental Conditions
- Avoid painting in humid or extremely hot weather.
- Paint when temperatures are between 50-85°F (10-30°C) for optimal results.
- Use air conditioning or dehumidifiers indoors if needed.
Step 4: Choose the Right Paint & Tools
- Match new paint with existing layers (latex over latex, oil over oil, or use a proper primer if switching types).
- Use quality rollers, brushes, and sprayers designed for your surface.
Step 5: Apply Paint Correctly
- Stir paint gently instead of shaking to prevent air bubbles.
- Apply thin, even coats and let each layer dry before adding the next.
- Use a primer, especially on new surfaces, to improve adhesion.
How to Fix Paint Bubbles
If paint bubbling has already occurred, don’t worry—it can be repaired. Follow these steps:
Step 1: Identify the Cause
- Determine if moisture, heat, or surface contamination caused the problem.
- Fix any underlying issues like leaks or high humidity before repainting.
Step 2: Remove the Bubbles
- Scrape off loose, bubbled paint using a putty knife or scraper.
- Sand the area smoothly to blend with the surrounding surface.
Step 3: Prime the Area
- Apply a high-quality primer to the repaired area to ensure proper adhesion.
- Let the primer dry fully before proceeding.
Step 4: Repaint Carefully
- Use thin, even coats of paint, allowing proper drying time between layers.
- Ensure optimal environmental conditions for drying.
Frequently Asked Questions (FAQ)
1. Can paint bubbling be fixed without repainting?
Minor bubbles may shrink over time, but in most cases, they require scraping and repainting to fully resolve the issue.
2. How do I stop bubbles from forming while painting?
Ensure the surface is clean, dry, and properly primed. Apply thin coats, use appropriate tools, and avoid painting in extreme weather conditions.
3. Can I paint over bubbling paint?
No, painting over bubbles will not fix the issue. The affected paint must be removed, the surface prepped, and the area repainted.
4. Does old paint contribute to bubbling?
Yes, expired or improperly stored paint may not adhere properly, increasing the risk of bubbling.
5. What’s the best primer to prevent bubbling?
Use a primer suited to your wall type—latex-based for drywall and oil-based for high-moisture areas.
6. Should I hire a professional to fix paint bubbles?
If the bubbling is extensive or caused by underlying structural issues, hiring a professional painter ensures a long-lasting fix.
When to Call in the Professionals
If bubbling persists despite your best efforts, professional painters can assess and address deeper issues, ensuring a smooth, long-lasting paint job. Trusted companies like Apex House Painters provide expert solutions for both interior and exterior painting projects.
Final Thoughts
Paint bubbling can be frustrating, but with the right approach, you can prevent and fix it effectively. By preparing your walls properly, choosing the right materials, and following best painting practices, you can achieve a flawless, durable finish. If you need assistance, don’t hesitate to call in experts for a professional touch. A well-painted home enhances its beauty and comfort—make sure yours shines!


